Saturday, August 20, 2022

Schneefleckhöhle


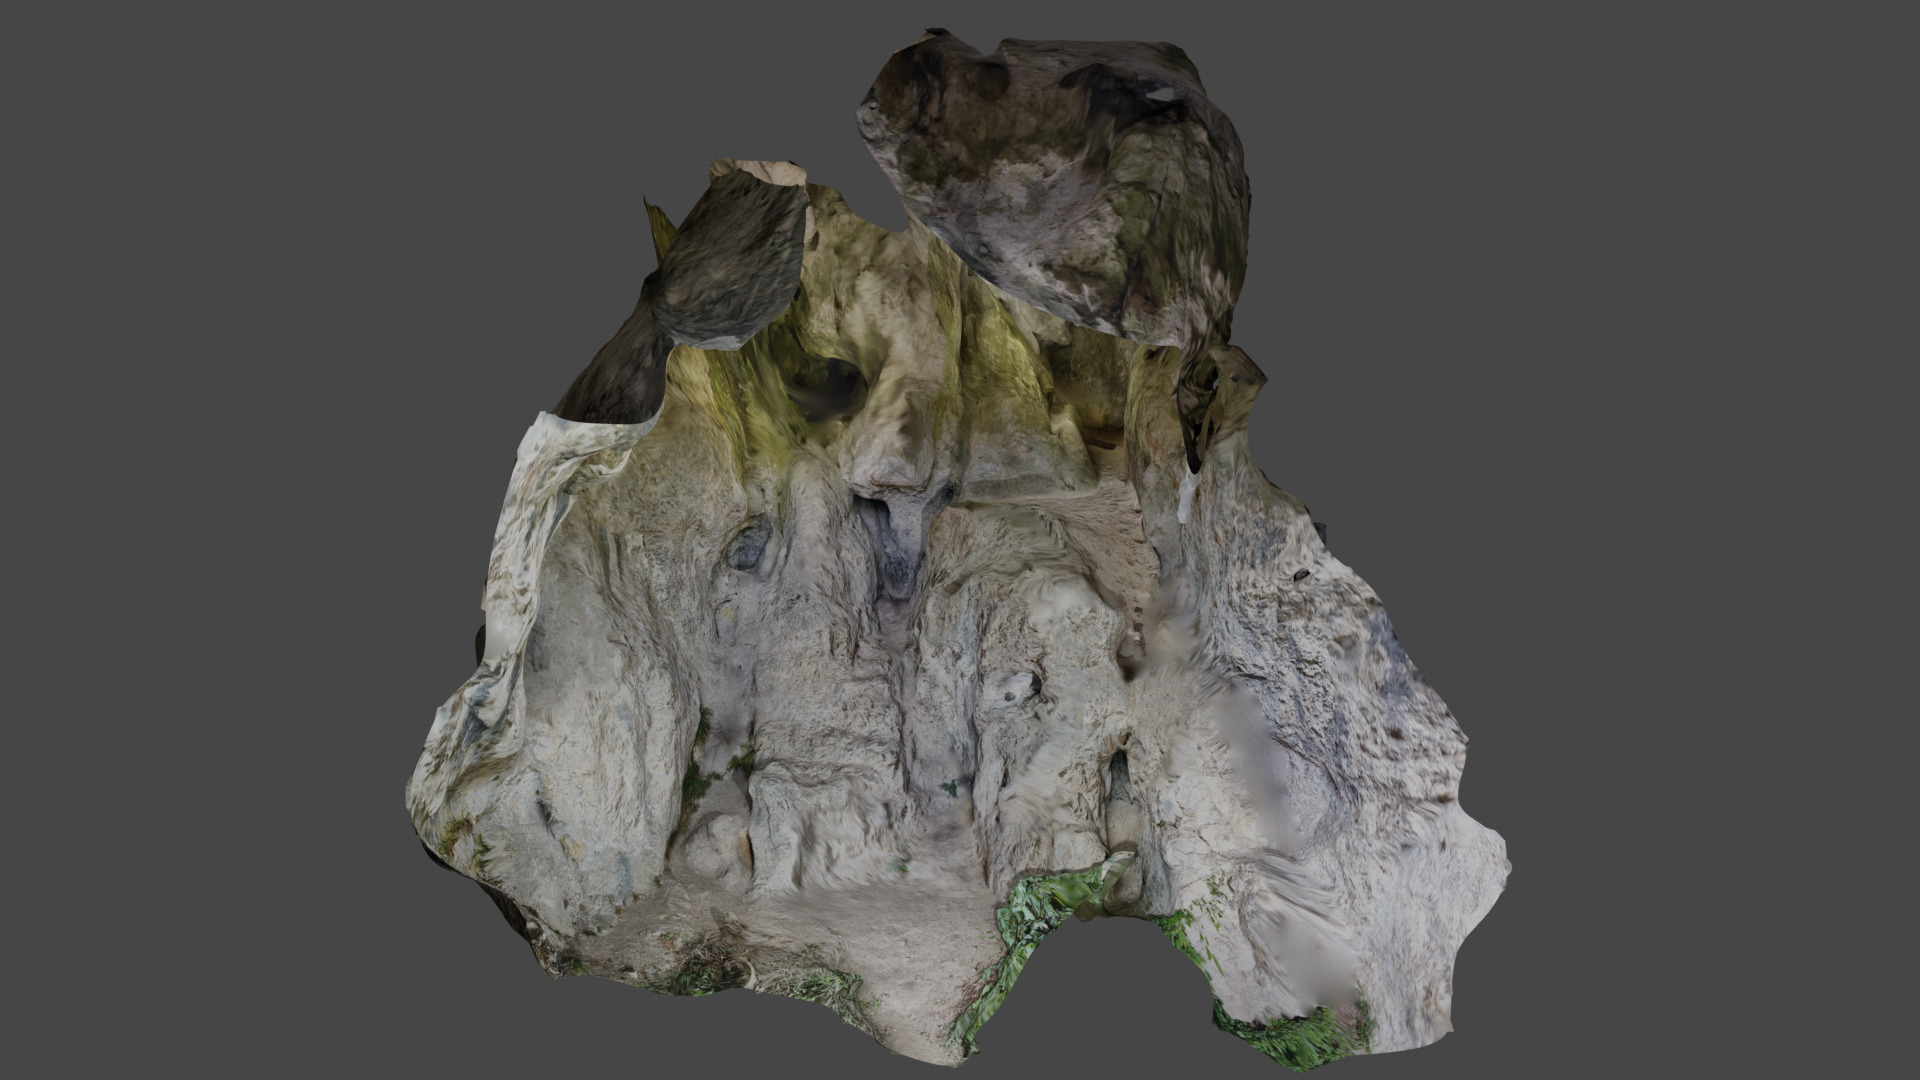
Continuing my quest for using lidar in newest phones to build 3D models of caves. Here we have a scan of the Schneefleckhöhle, a 160-meter marble cave in the Zillertal mountains in Austria. The cave has been scanned with iPhone 12 Pro and Polycam, using lights and the phone mounted on a Benro selfie stick. Scanned segments were put together in Blender and used for fly-through animation. I can also feed the 3D model to my "Cave Outliner" software that draws a plan view map and cross sections based on the model. Lots to improve in various pieces of software, and scanning an entire complex form is very hard. While all of this is very experimental, bleeding edge technology it is also very exciting, and already offers some stunning views onto a caves.

Here's a video:

And the some parts of the cave map in pictures below. However, due to the limitations of the blogger platform, it is much better to view them by clicking on the plan view, vertical cross section, and cross section C pictures instead.


The full map is available in PDF here. Note that the map pictures above have been slightly modified manually, to flip them to a more suitable presentation orientation, and to add an entrance (which Cave Outliner can not yet reliably do by itself).

The cave model can be downloaded here in GLB format and here in Blender format. A rotatable model on your browser screen can be started here.

The Benro "3D scanning stick" looks like what is shown below. Attached are X-Grip attachments to hold the phone and the Lumonite lights:

In the following I go through what the process is for making these kinds of scans:

  • Have a phone, needs to be an iPhone pro model 12 or later. You'll also need to have enough free memory and a scanning app such as Polycam installed. You'll need the commercial version of the app, as data export will require that.
  • Setup a lightning method. This can be just your helmet or hand-held light, but it is better to use a setup where the phone sensor and the lights are built to point to the same direction for more even lightning.
  • Start a new scan, set a lidar and camera mode to get both the shape and the texture. Carefully and with modest movements start scanning the cave entrance and the tunnel forward. You will need to cover different holes and side rooms, under bigger boulders, etc as well.
  • To ensure that software can process your scan results, stopping the scan, storing the results, and starting a new separate model is advisable every now and then. In my experiments doing this every 20-50 meters in a normal cave tunnel (with some forms and other complexity) is about right.
  • After each scan, or at the end when your phone is reconned to power, process the scans in the app. I have used the custom setting with maximum range and highest accuracy.
  • Upload each scan to iCloud by exporting each model in, say, the GLTF/GLB format.
  • Import one model at a time to a post processing software such as Blender. Cut away erroneous or shadow parts, if any.
  • Merge the models by first removing any excess overlap in Blender object editing mode and then aligning the different parts according using tock features (ledges, boulders, depressions, etc.) as a guide to get best alignment.
  • Store the resulting merged model, in Blender as a Blender file, for instance.
Optionally, if a map is desired: 
  • Convert another copy of the model to STL format, e.g., in Blender.
  • Feed the Cave Outliner and use the --auto option to get the best default settings. If you want to, you can provide additional information such as name of the cave, location and coordinates in extra options. Cave Outliner produces an SVG file that contains a map of the cave. 
  • Use Apple Graphic or other software to convert the SVG file to PDF, and share the map.

Finally, also optionally, if a fly-through video is desired:

  • Setup a camera, a light, and attach them together in Blender. The light will provide light as the camera travels through the model in the animation we are about to set up.
  • Use the Shift-F to enter the fly through mode (you may need to configure Blender to recognize the Shift-F).
  • In Fly Through mode, use 'w' to go forward, 's' to go backward, and 'a' or 'd' to pan sideways.  Press 'i' to insert a fixed frame for your animation. You will only need a few fixed frames, Blender will interpolate your position for moving between the fixed frames.
  • Click on Render Animation to produce an animation image sequence.
  • Use, for instance, Quicktime to import the image sequence and convert it to a video file.

But there are also issues, as this is early use of this technology:

  • The first issue is that you have to be very careful and methodological about the scan. If possible I like to rotate the phone on a stick and progress through a tunnel, but often that's not possible. In the video you can see some of the holes that started to creep into the model when I was running out of time and doing things too quickly. Of course tons of boulders and cave forms don’t make the careful coverage easy or even possible in all cases.
  • The scan recording softwares on the phone - while they have improved - are still not really designed for this and have many problems. One big issue is that they are unreliable and can’t handle too much data so scans need to be done in pieces, nine pieces in this one for instance.
  • And given the above, you will have many parts, how do you then put them together and align properly? In theory one could imagine some auto-alignment but we don’t have that. I put them together manually (based on shapes etc) but that introduces a source of error of course. One could imagine also some hybrid scan + disto reference points process.
  • Accuracy. The accuracy seems to vary and I often get shadow walls and the like if something is scanned twice for instance. The manual handling of the scan carefully affects this of course, but also softwares and sensor physical capabilities contribute.
  • Range, the five meter approximate range of the sensor may even be slightly exaggerated, and it definitely makes things hard in bigger cave halls. Based on advice from my Icelandic friends though, the selfie stick method helps here. Still, person's height plus selfie stick length plus sensor range is somewhere under 10 meters, so rooms higher than this cannot be easily scanned in their entirety.
  • Finally, interpreting a simplified cave map from a 3D model is actually harder than one thinks in the beginning. For instance, I’ve spent a ton of time thinking about what the definition and math for an ‘entrance’ is. And have had fun finding algorithms to filter out small scanning irregularities like a small missing parts behind a rock or a cavity etc. This presentation from November 2021 outlines some of the difficulties with the definitions.
Previous articles about the use of 3D modeling and iPhones in caves can be found here: scanning Austrian caves (TGR),  scanning the Grafenloch cave (TGR), scanning the Lummelunda cave (TGR), Torhola cave in 3D (TGR), automatically generated maps (TGR), first article in Swedish caving magazinenewspaper uses my 3D models, first cross sections (TGR), and Kauniainen 3D models, Högberget in 3D (TGR). There's also been articles in the Swedish Caving Association's magazine Grottan (2021), the Finnish Caving Association's magazine Luola (2021), and the British CREG Journal (issue 115, 2021).

This article has also been published at TGR. Read more urban exploration stories from theurbanexplorer.net, and other underground stories from planetcaver.net. Read the full Planetskier series at planetskier.net, or all blog articles from Blogspot or TGR. The Cave Outliner software is open source and available on GitHub. Photos, videos, models, maps, and text (c) 2022 by Jari Arkko. All rights reserved.

Sunday, August 7, 2022

More of the same: pool in a plain hotel in no particular place


Hampton Inn... a good but not remarkable hotel... New Jersey... nice state but not remarkable... South Plainfield... newer heard, but ok and again not remarkable. A plain hotel in Plainfield?

What's to do? Swim in the hotel pool!

A swim is a swim is a swim. Nice to dip in the water on a hot day. Not bad!

I was at Hampton Inn South Plainfield-Piscataway, South Plainfield, New Jersey (link here).

For more sauna and swimming stories, check out planetswimmer.com and saunablogger.cool websites! And of course the Planetcaver, and Planetskier blogs for other stories in Blogspot and TGR! The photos and text (c) 2022 by Jari Arkko. All rights reserved. I never take photos of other saunagoers or swimmers and visit when there is simply no one else or the facility has been closed or booked only for me.

Finnair A350 on short haul routes

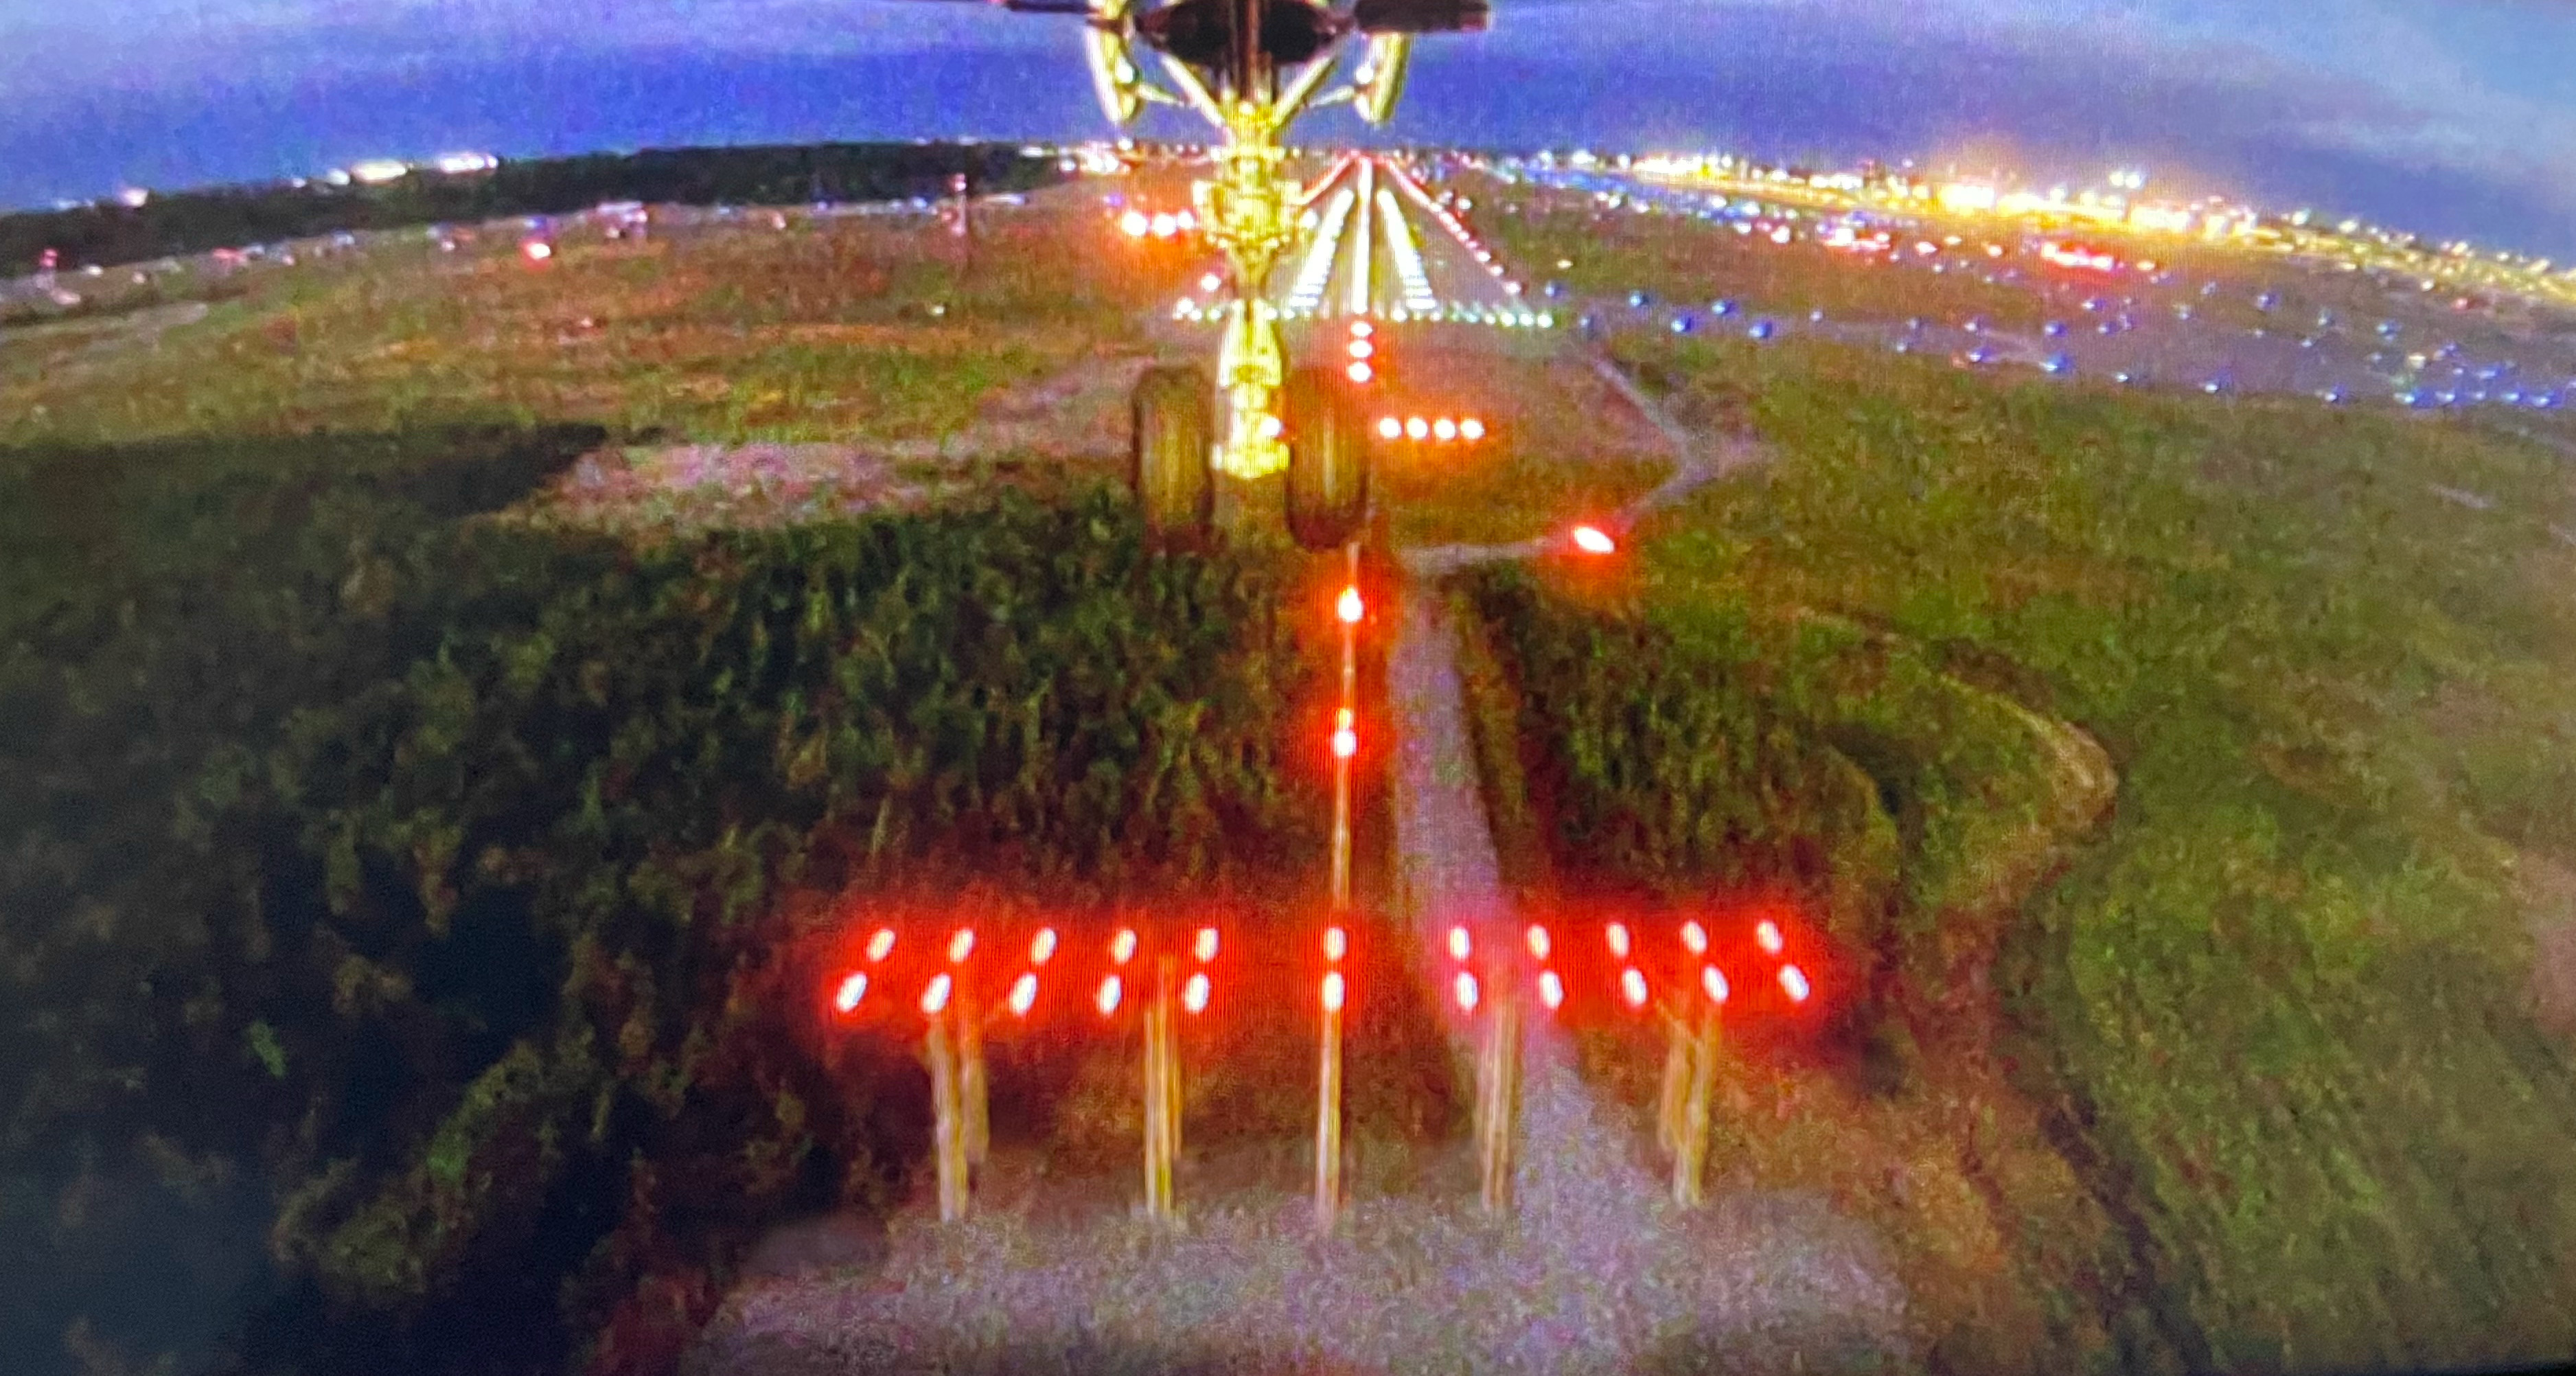
Interesting... ended up on the Finnair A350 on my way back home from London. The A350 is such a nice airplane.

I was also thoroughly enjoying the live camera features on this aircraft.


For more flying stories, check out the planetflier.com website! And of course the Planetcaver, and Planetskier blogs for other stories in Blogspot and TGR! The photos and text (c) 2022 by Jari Arkko. All rights reserved.

Lounges .. now we are talking...


... or barking? 

What a wonderful refreshment spot for the animals passing through the airport! Well done, Philadelphia International! Never seen a lounge so much better suited for the furry passenger's needs!

For more flying stories, check out the planetflier.com website! And of course the Planetcaver, and Planetskier blogs for other stories in Blogspot and TGR! The photos and text (c) 2022 by Jari Arkko. All rights reserved.

Friday, July 29, 2022

Grafenloch and Rossstall cave maps


I visited these caves last year, but now have software to produce a map of them.

The "Cave Outliner" open source toolkit that I wrote will convert 3D models in STL format to maps that have cave names, locations, coordinates, plan view maps, cross-section etc. automatically. See GitHub for further information on this software.

So I sat down and run the software on the two German caves from last year's visit. Neither the models are always perfect (I had to fill in manually some parts that the sensor did not reach) nor does the tool always produce good results (I had to edit the entrance drawing it made automatically). But, at least this is already faster work process than drawing everything manually...

To give you an example of the work process, here's what I did for the Grafenloch cave:

  1. Recorded the cave model using the Polycam app on iPhone 12 Pro.
  2. Exported the model in GLTF/GLB format from Polycam to iCloud.
  3. Downloaded the iCloud file to my computer.
  4. Opened the file in Blender to do any editing, rotation, etc. of the model.
  5. Saved the model in Blender (.blend) and STL formats (.stl) using the "Save" and "Export" commands in Blender.
  6. Run the cave-outliner tool using the following command line:
                cave-outliner    --auto                                                                                 \
                         --crosssection y 0 Grafenloch-Map-Y.svg                         \
                     --crosssection x 2.2 Grafenloch-Map-X.svg                      \
                         --name "Grafenloch" --location "Oberaudorf, Germany"   \
                     --coordinates "N 47.640813 E 12.164877"                        \
                                         Grafenloch-3D-STL.stl Grafenloch-Map.svg
  1. Opened the resulting Grafenloch-Map.svg file in Apple's Graphic tool.
  2. Made any edits needed and saved in Graphic format (.idraw) and as PDF/JPG (.pdf and .jpg).
  3. Copied the results to my website.
The Grafenloch map is above (the opening picture) and the cave model is below: The map is though perhaps best viewed as a PDF using this link. And you can rotate the model on your own browser screen here.


Similarly, the Rossstall models and maps are below (and map PDF link is here). The rotatable model can be found here.


This article has also been published at TGR. Read more urban exploration stories from theurbanexplorer.net, and other underground stories from planetcaver.net. Read the full Planetskier series at planetskier.net, or all blog articles from Blogspot or TGR. Photos, videos, models, maps, and text (c) 2021-2022 by Jari Arkko. All rights reserved.

Thursday, July 28, 2022

Maanala - Manala


Went to the Amos Rex art installation today, on the topic of subterranean matters... with friends from the Finnish Caving Association. Only that it wasn't just about subterranean, it was underground things but also hell, evilness, and devilish matters. It took a while for me to understand this, because I of course associate underground things as interesting and fun, not as dark hellish situations. 


A rhino?


Roots of trees, from below:


Outside roof windows in the museum:


Caves:

This article has also been published at TGR. Read more urban exploration stories from theurbanexplorer.net, and other underground stories from planetcaver.net. Read the full Planetskier series at planetskier.net, or all blog articles from Blogspot or TGR. Photos, videos, and text (c) 2022 by Jari Arkko, with photographed art of course by the artists. All rights reserved.

Wednesday, July 27, 2022

Snowdog finds snow, Planetskier skies it


Snowdog found snow! And I skied it, of course :-)

Not much of snow, but I needed a backup plan in case my main plan for July skiing goes wrong somehow -- and it is scheduled for the last day of the month, so I may not be able to come up with a new plan if it does.

Stay tuned!

Video from today's exercise:

Hiking around the Kauniainen ski slope:

This article has also appeared in TGR. Read the full Planetskier series at planetskier.net, or all blog articles from BlogspotTGR. Photos, videos, and text (c) 2022 by Jari Arkko.

South Czechia castles: Rabí and Kašperk


Our trip to Czechia concluded with a road trip to the Kašperk and Rabí castles. Both are medieval castles, partially in ruins and partially restored. Kašperk's two-towers-on-a-steep-hill design reminded us very much of the Trosky castle that we had seen a few days earlier.

We ended up spending much more time at Kašperk, having arrived there earlier and having an opportunity to visit the insides of the castle on a very nice tour. There were also food stalls, mini-cannon demonstrations, etc. in the inner courtyard of the castle. Rabí on the other hand... was already closed by the time we arrived, but we managed to walk around it at least. There were some restaurants in the Rabí village, but, weirdly enough, not offering any food, only beer. So we continued on.

Kašperk was remarkable, with its views, and much of it remained as it was, so we were able to see toilets (above picture), bathrooms (below picture, and yes, a bathroom in a medieval castle), and so on. Very nice.

Kašperk is at N 49.16604 E 13.56322, but it is not reachable by car. You'll have to leave your car at the parking lot a kilometer away at N 49.16496 E 13.58088 and then take the path to the castle. The path or the parking lot are not particularly well marked, but the broadest path does lead to the castle. And follow the crowds!

The Rabí castle is by the road and easy to find, here N 49.27926 E 13.61829.

Pictures from the Kašperk castle:


Pictures from the Rabí castle:


Read more urban exploration stories from theurbanexplorer.net, and other underground stories from planetcaver.net. Read the full Planetskier series at planetskier.net, or all blog articles from Blogspot or TGR. Photos and text (c) 2022 by Jari Arkko. All rights reserved.
Monday, July 25, 2022

Summer meetup at the Cave Association


I visited the summer meeting, with my loaner dog... did not have time for the actual cave visits. Well, I've been to the area caves already. But they might have found some smaller ones from the forests, and be bitten by mosquitoes :-) But the rest of it was a lot of fun, sauna, swim, eat!

More importantly, Paul and Duncan talked to me about their new exploration project. Very exciting. Started doing some data gathering myself as well. More on this later.


Read more urban exploration stories from theurbanexplorer.net, and other underground stories from planetcaver.net. Read the full Planetskier series at planetskier.net, or all blog articles from Blogspot or TGR. Photos, videos, and text (c) 2022 by Jari Arkko. All rights reserved.

ORD flagship lounge


I had a layover in Chicago on my way to a meeting... it turned out to be a long layover due to planes being late, and everything being super-crowded. But this also meant that I had time to visit the American Airlines Flagship Lounge in Terminal 3. Not bad, particularly liked the well-working WiFi and the mushroom pasta.

Here are AA's all flagship lounges, by the way. Didn't realize there were only very few of them.

For more flying stories, check out the planetflier.com website! And of course the Planetcaver, and Planetskier blogs for other stories in Blogspot and TGR! The photos and text (c) 2022 by Jari Arkko. All rights reserved.